


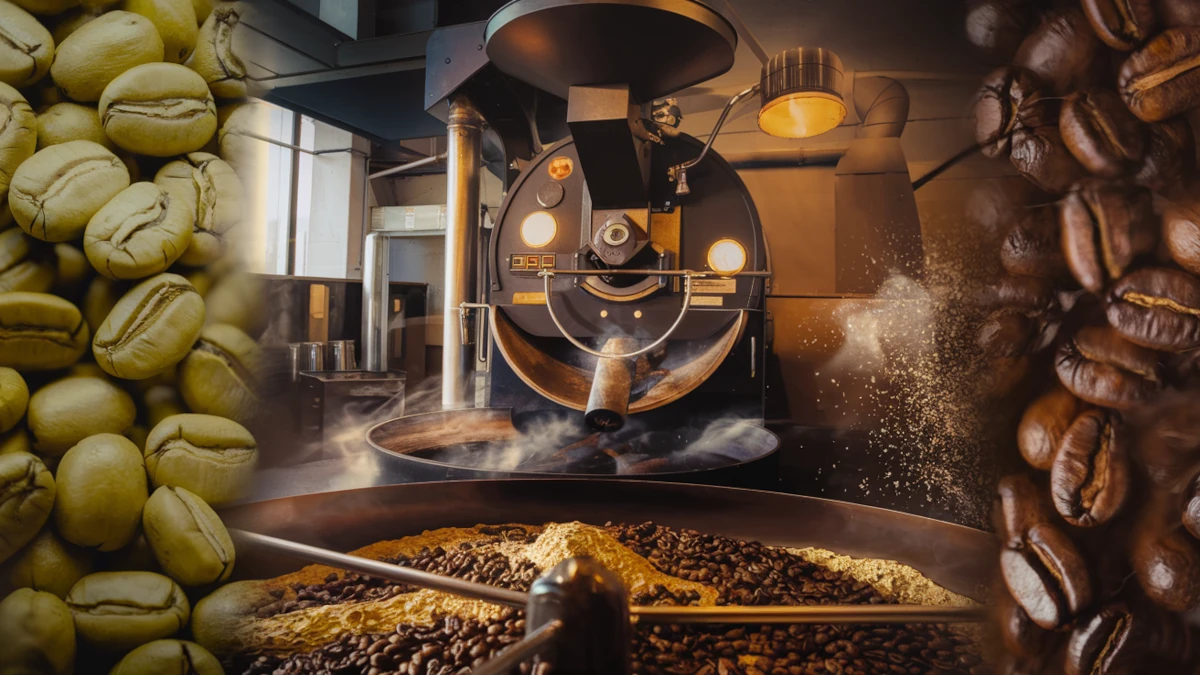
Transforming green coffee beans into the aromatic brew we savor daily is both an art and a science. This step-by-step roasting guide unravels the process, providing essential insights into achieving the perfect roast. Whether you’re a beginner learning the craft or a home barista perfecting your brew, understanding the coffee roasting process will unlock new levels of flavor and aroma.
Table of Contents
Understanding the Coffee Roasting Process
Coffee roasting is the transformation of raw green beans into roasted coffee through precise control of temperature, time, and airflow. Each stage of roasting plays a pivotal role in shaping the flavor profile, body, and acidity of your brew.
Why Roast Coffee?
- Freshness and Flavor: Roasting enhances the natural flavors of coffee, offering a fresher taste compared to pre-roasted beans.
- Customization: Tailor the roast level to your taste preferences, from light and floral to dark and bold.
Coffee Roast Differences
Roasting affects acidity, body, and bitterness. Here’s a breakdown of the main roast levels:
- Light Roast:
- Characteristics: Bright acidity, floral notes, and a light body.
- Ideal for: Highlighting the bean’s origin flavors.
- Medium Roast:
- Characteristics: Balanced acidity and sweetness with fuller body.
- Popular for: Achieving a versatile flavor profile.
- Dark Roast:
- Characteristics: Bold, smoky flavors with reduced acidity.
- Best for: Strong, rich brews.
Step-by-Step Coffee Roasting Guide
1. Preparing for Roasting
- Choose Green Coffee Beans: Opt for high-quality beans suited to your preferred roast level.
- Equipment Needed: A reliable roasting method—like a home coffee roaster, popcorn maker, or pan—is essential.
2. Stage 1: Drying the Beans
Green beans contain 7–11% moisture, which must be evaporated before the roasting process begins.
- Process: Heat the beans to start moisture evaporation.
- Key Insight: Proper drying ensures even roasting, preventing sour or bitter flavors.
3. Stage 2: Yellowing Phase
As the beans dry, they transition from green to yellow.
- Changes: A rice-like aroma emerges, and the bean’s outer skin (chaff) flakes off.
- Pro Tip: Ensure steady airflow to remove chaff and avoid underdevelopment.
4. Stage 3: The First Crack
This stage marks the beginning of significant chemical transformations.
- What Happens: Beans crack open audibly as gases like CO₂ escape.
- Flavor Insight: Halting the roast here results in bright, nuanced flavors—ideal for light roasts.
5. Stage 4: Roast Development
Here, the roaster balances internal chemical reactions to achieve the desired flavor profile.
- Key Actions: Monitor bean color and aroma to prevent over-roasting.
- Monitoring Tip: Extract small samples for precise control.
6. Stage 5: The Second Crack
A quieter crack indicates the transition to darker roasts.
- Characteristics: Oils rise to the surface, and flavors become bold and roast-heavy.
- Warning: Over-roasting risks burnt flavors or bean combustion.
7. Final Stage: Cooling the Beans
Quick cooling halts roasting and locks in the flavor.
- Process: Transfer beans to a cooling tray or use air cooling methods.
- Finishing Tip: Ensure thorough cooling to preserve consistency and flavor.
Advanced Tips for Perfect Roasting
- Roasting Software: Use digital tools to track temperature and time for consistency.
- Experimentation: Test different roast profiles to identify your preferred taste.
- Common Mistakes: Avoid uneven drying, over-roasting, and insufficient cooling.
Conclusion
Mastering coffee and roaster basics empowers you to unlock the potential of your beans, creating a personalized coffee experience. Whether you prefer light, floral notes or bold, smoky undertones, understanding each stage of roasting helps you craft a brew that suits your palate.
Start your coffee roasting journey today—experiment, perfect your process, and savor the results!